Friday, December 3, 2010

Handmade Christmas Gifts

Christmas is consuming my every thought lately; even if I am late putting the tree up! (Trying to get to that this weekend) Ive been to every store in town and I cant find the gifts I want to give or maybe I don't know what I want to give.

Yours truly - circa 1983 or 1984! 
Santa looks thrilled doesn't he?

 
My family is a breeze to shop for, I could get that done in no time. But with addition of Mark's family it presents a problem. What do I give them? He's not much of a shopper so I cant leave it up to him. And then a thought popped into my head to give them a gift basket with homemade goodies. I'm hoping they would enjoy something like that.

In the arts and crafts community its always preached to give handmade/homemade because people enjoy it more than a store bought gift. But is that really true? Ive never actually given a handmade Christmas gift...other than the odd picture frame I covered here and there. It always seems like when I make something I tend to keep it for myself.

What do you think? Would you enjoy receiving a basket of homemade goodies?

Here are the recipes I'm considering:

Christmas Cookie Mix in a Jar

The Mix
1 1/3 cups flour
1/4 cup sugar
3/4 cup packed brown sugar
1 cup M&Ms
1 cup regular oats
1 tsp. baking soda
1/2 tsp.Kosher salt (or 1/4 tsp table salt)

To make cookies, mix jar contents with 1/2 cup melted butter, 1 egg and 1 teaspoon vanilla. Drop by 2 tablespoons on cookie sheet. Bake for 10 minutes at 350°.

(makes about 2 dozen cookies)

Instructions

Layer in a 1 quart jar
1. Mix flour, salt & baking soda, place in bottom of jar
2. Oats
3. M&Ms
4. Brown Sugar (press down firmly)
5. Sugar
Screw lid on tightly, add ribbon and the label.

_______________________________

Peppermint Patties

Ingredients:
2 cups powdered sugar
1.5 tbsp softened butter
2 tsp peppermint extract
1/4 tsp vanilla extract
2 tbsp cream
8 ounces (about 1-1/3 cup) dark chocolate, chopped
1 tbsp vegetable shortening

Preparation:

Line a cookie sheet with wax paper or a silpat. In a blender, cream together the sugar, butter, extracts, and cream on low speed. After the ingredients are combined, raise the speed to medium-high and beat for an additional 1-2 minutes until mixture holds together very well and is creamy, not powdery.

Using a teaspoon, roll the candy into small balls and flatten them on the wax paper or silpat with the palm of your hand into patty shapes. When done, put them in the refrigerator to chill for 20 minutes.
Meanwhile, melt the chopped chocolate and the shortening in the microwave or over a double boiler.

Using dipping tools or two dinner forks, dip the patties into the chocolate one by one. Drag them across the lip of the bowl to remove any excess chocolate. Return them to the wax paper or silpat, and place back in the refrigerator to set the candies. They should be ready to eat in a few hours.

Due to the dairy ingredient, these need to be kept in the refrigerator. Layer the patties between sheets of parchment in an airtight container. They'll last for a month.

_____________________________

Peppermint Hot Fudge Sauce

Yields 4 cups

Ingredients:
2 c. unsweetened cocoa powder
1 1/2 c. sugar
1 c. brown sugar
1/4 t. Kosher salt
2 c. heavy cream
1 c. unsalted butter, cut into pieces
2 t. peppermint extract (substitute vanilla, if you don’t want the mint flavor)

Directions: In a double boiler over medium heat stir in cocoa, sugars and salt. Add the cream and butter. Cook over medium heat, stirring constantly until the butter is melted and the sauce comes together and is smooth and glossy. Bring to a boil for 1 minute. Then, remove the bowl from the heat and let cool for 5 minutes. Stir in the peppermint extract. Store in the fridge and re-heat when ready to use.

Storage notes: This sauce is great to packages in glass jars for gifts. When pouring the sauce from the bowl into the jar it is helpful to use a kitchen funnel if you have one available. This sauce will stay in the fridge for up to two weeks or more.

Serving ideas: In addition to ice-cream, this sauce is excellent drizzled over slices of pound cake, cheesecake or a meringue. The version made with vanilla extract is also delicious served with poached fruit
___________________________

Homemade Granola

6 cups of oatmeal
1/2 cup wheat germ
1 1/2 cups slivered almonds
2 1/2 cups chopped pecans
1 cup coconut (flaked)
1/2 dark brown sugar ( I use a little more)
1/2 cup non flavored vegetable oil
1 tsp cinnamon
2 TBS vanilla
1-2 cups assorted dried fruit (I use dried cherries)
1-2 cups of add-in (mini chocolate chips, mini marshmallows, cereals)

Preheat oven to 225 degrees.

Mix all ingredients except dried fruit and add-ins in a large bowl. Mix well to coat evenly. Distribute on 2 large rimmed baking sheets.

Bake for 1 hour 15 minutes. Turn every 15 minutes.

Remove from oven and cool completely.


And possible a few more things....... what do you think? Do you have any creative suggestions on how to package it all?

Tuesday, November 30, 2010

I'm still standing

Like the song says, I'm still standing.....but just barely! Ive been absent from my blog for a little while; I promise I have a good excuse. As always I try to keep it real here on my little piece of blog land.


Mark's stepfather was diagnosed with a brain tumor in December 2009 and recently passed away. We've been doing our very best to be close to his mother in her time of need. It happened about two weeks before Thanksgiving and he was surrounded by family as he passed. The funeral was very touching; he was a retired Police Officer as well as a veteran. The Police Department did an amazing job; each one taking a turn at standing guard over the casket.


I thought I had done a really great job of keeping myself composed at the funeral. After all I wanted to be strong for Mark...that was until we got to the grave site and they played Taps on a bugle and I lost it along with everyone else. Ive heard Taps played on television, Ive seen it in the Movies.  Have you ever heard it played live? It is so very heartbreaking... I cant even describe it!


And then Thanksgiving came and went in a blur...now we're busy painting at the new house; which we were finally able to move in to.


I wanted to post a few pics of the house but I seem to have lost them soooo until I locate them, here's a picture of my niece chasing bubbles


Cuteness Overload!
Photobucket


Tuesday, October 26, 2010

Polly Want a Crafter?


I would like to introduce you to a great blog called Polly Want a Crafter! It was started by the lovely Cassity of Remodelaholic. Please take a moment to check out her new site and browse through all the great craft links and ideas she's posted!

Today she'll be featuring my Ten minute towel dress


Monday, October 18, 2010

It will have a craft room!

I need a craft room of some sort; I love to make things; jewelry, paper crafts, scrapbooks, paintings... you name it, I've dabbled in it!

So Ive been scouring the Internet again for inspiration for my little slice of craftiness. This is what Ive found so far...


 I love this simple desk and hutch


This room would be great if you had crafty friends! I love all the room to spread out 


 Love this great storage

This is more like it! Love the fun, bright colors and all the kitchy things.


Same craft room... love that awesome ironing board 

 I love the idea of the back lit cabinets. Everything is on display!

And who wouldn't want a crystal chandelier in their craft room? 

 And these chairs... I must have them!

Or this chair...It's so pink and girly!

Love these turquoise walls and all that fabric. I could sew for months! 

So sweet and dreamy

This is fabulous with great storage! 


If you want to see the real me, this is what I love, love, love!!
Someone let me play in this room for a few months... or years!


Until next time...


Thursday, October 14, 2010

ETSY featured shop: Lunar Blue Designs

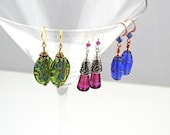
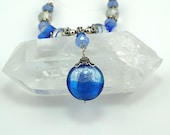
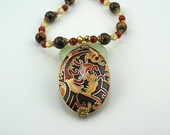
This week I'm featuring a lovely ETSY shop;  Lunar Blue Designs.


Lunar Blue Designs is the creation of Jennifer and Amy Grier, sisters and business partners who are passionate about gemstones and handmade jewelry.

With a Ph.D. in Planetary Science, Jennifer has deep and unique insight into the origin and characteristics of gemstones. She crafts most of the jewelry in our shop, and does it with a purposeful eye toward how each type of gemstone shapes the personality of a piece of jewelry.

Amy is drawn to Asian art and creates gemstone and glass malas, prayer beads, and devotional jewelry. She draws on her M.A. in East Asian Studies to design each item with authenticity, but always combined with her own vision of how a piece can fit conveniently and stylishly into modern life.

Above all, we believe in quality, passion, and a lot of fun!


'Lunar Blue Designs' by IvyRoad

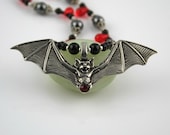
Gothic Bat and Blood Ne...

$40.00
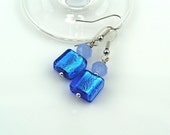
Blue Glass Dangle Earri...

$19.00
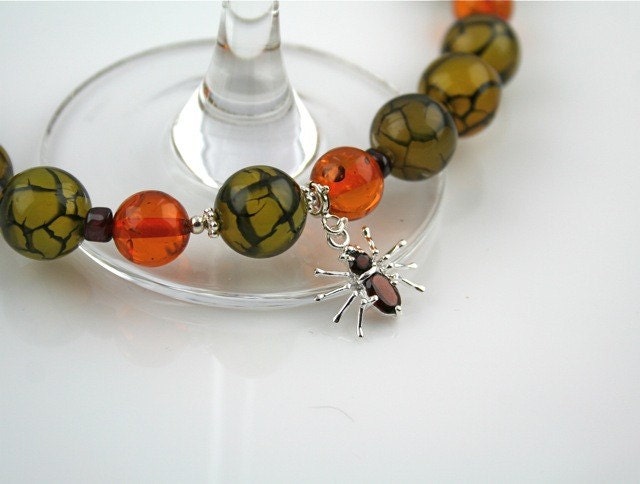
Spider Web Agate, Amber...

$72.00
Grounding Mahogany Obsi...

$59.00
Celestial Trio Crystal ...

$105.00
108 Bead Hand Knotted M...

$59.00
Set of Three Designer G...

$99.00
Sparkling Blue Glass an...

$49.00
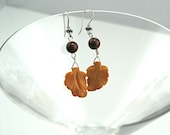
Autumn Leaf Earrings --...

$22.00
Bronzite and Gold Clois...

$139.00
Dark Green Fluorite and...

$29.00
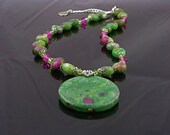
Ruby Zoisite Necklace, ...

$189.00
Glowing Moon Goddess Ne...

$39.00
Gothic Black Cross Neck...

$49.00
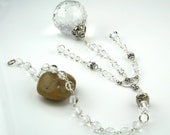
Large Round Prism Cryst...

$125.00
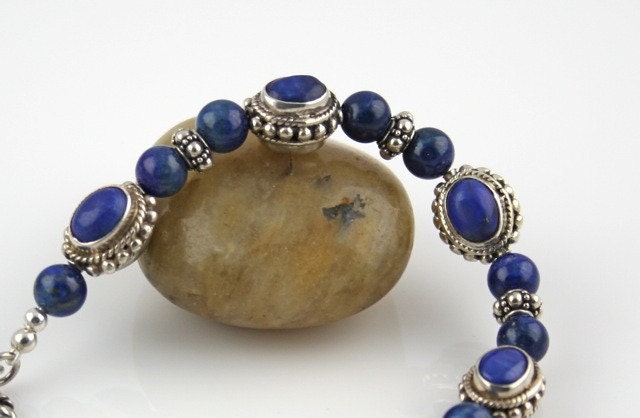
Lapis and Bali Sterling...

$105.00


Please be sure to stop by and check out their shop, you wont be disappointed!


Wednesday, October 13, 2010

Tutorial- Ten Minute Towel Dress

Last year I got on a little kick of making dresses for my 3 year old niece Chloe for Halloween and Fall. They are the easiest dresses in the world to make.

I found several sets of kitchen towels in the target dollar spot last Halloween as well as some fall colored towels in the home good section of Target. They were super cute! And the best part of all, they're towels so the edges are already sewn for you!

The dresses should easily fit any 2-5 year old and can later be worn as a shirt!

Since I wasn't blogging last year I don't have pics of the actual process but I do have pics of the results!

Photobucket


This is what you need:
2 Matching Towels
Coordinating ribbon
Straight pins
Sewing Machine (or you can hand sew)

*Be sure to wash your towels and lay them flat to dry before you sew them, to prevent shrinking the next time you wash*

Instructions:
Lay the towels on top of each other with the right sides facing each other (the part with the design) so that the inside of your dress if facing you.

Measure the width of your ribbon

Then measure down from the top of the dress 6 inches, plus the width of your ribbon. Example: If the ribbon is 1" measure down 6 inches + 1 inch for ribbon = 7 inches and place a pin. This creates the arm holes
Photobucket

Place pins down the side of the dress and repeat the process for the other side.

Photobucket

After the pins are in the place, sew up the right side and stop at the pins, back stitch a  1/2" or so and stop. Repeat on the left side.

That leaves the top of the dress open. Fold down one side of  the top of your dress equal to the width of the ribbon you measured and pin and repeat on the other side.

After you pin both sides, sew across and you've created the casing for the ribbon!

Photobucket

Cut 2 lengths of ribbon around 30-40 inches and singe the edges to keep them from fraying (you can do this with a lighter or match)

Turn the dress right side out and slide the ribbon through the casing on top. You can attach a safety pin to one end of the ribbon to help guide it through.

Photobucket

Its that easy! I know it sounds like a lot of work but in as little as ten minutes you can make these  fabulous dresses for that special little girl in your life! Give it a try and let me know what you think!


Photobucket


Im linking to:


http://www.pollywantacrafter.com/2010/10/craft-link-party-2.html

The Girl Creative


CreativeShareWednesdays


The DIY Show Off